
57-second workflow demo
The names on your die tray. Now in your STL filenames.
Complete your exocad case as usual. Multi-Dies Renamed then matches supported coping and inlay exports to the names already assigned to their die positions.
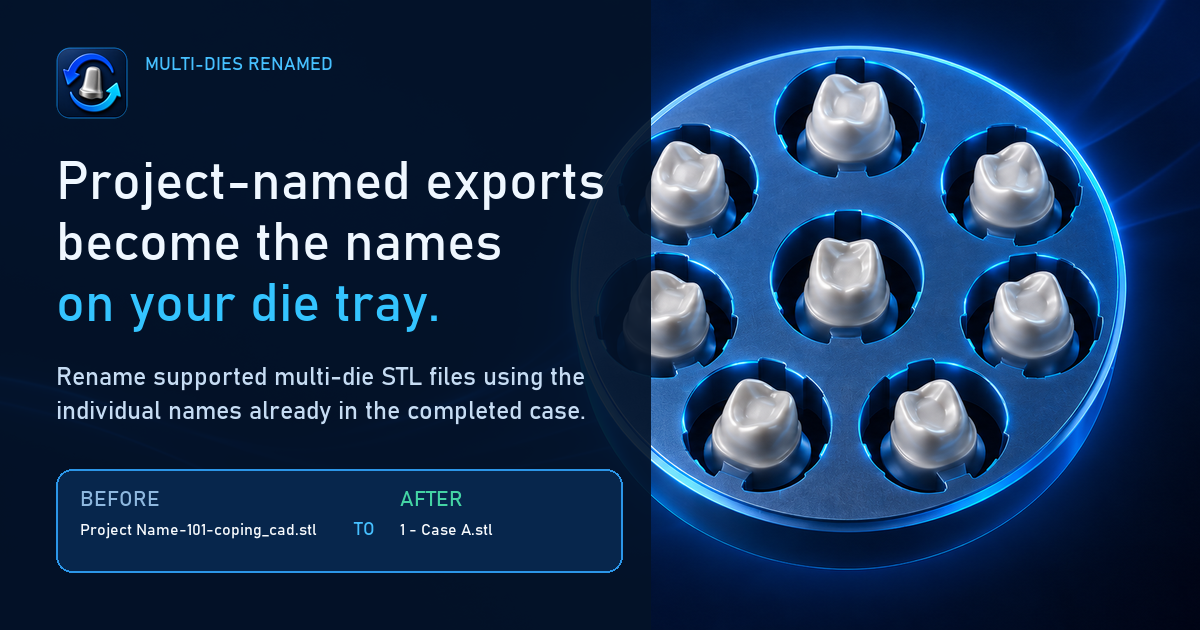 ▶ Play the real workflow on YouTube · 57 seconds
YouTube opens only when you choose to watch. This page does not load a YouTube player or YouTube cookies.
What the demonstration shows
- Start with named dies. Each occupied position in the exocad multi-die case has its own description. The demo uses Case A, Case B and so on; the result uses those same descriptions.
- Finish the designs and save. Work in exocad normally and keep the completed project and supported STL exports together in the case folder.
- Open that folder in File Explorer. The original exports use project-based filenames and position codes.
- Drop the project into Multi-Dies Renamed. Drag the
.dentalProjectfile into the app’s case selector, or use Select project. - Preview the naming format. Choose which fields appear and arrange them to suit the laboratory. The preview shows the filename before processing.
- Rename and review. The matching STL exports receive the case’s own die names and the selected fields. Review the result in the same case folder.
Which exports are supported?
A readable completed .dentalProject and matching multi-die -coping_cad.stl or -inlay_cad.stl exports are required. The app names and organises files locally; it does not change STL geometry.
Read the coping guide or inlay guide for the file-naming checks.